Productive VIM in Windows
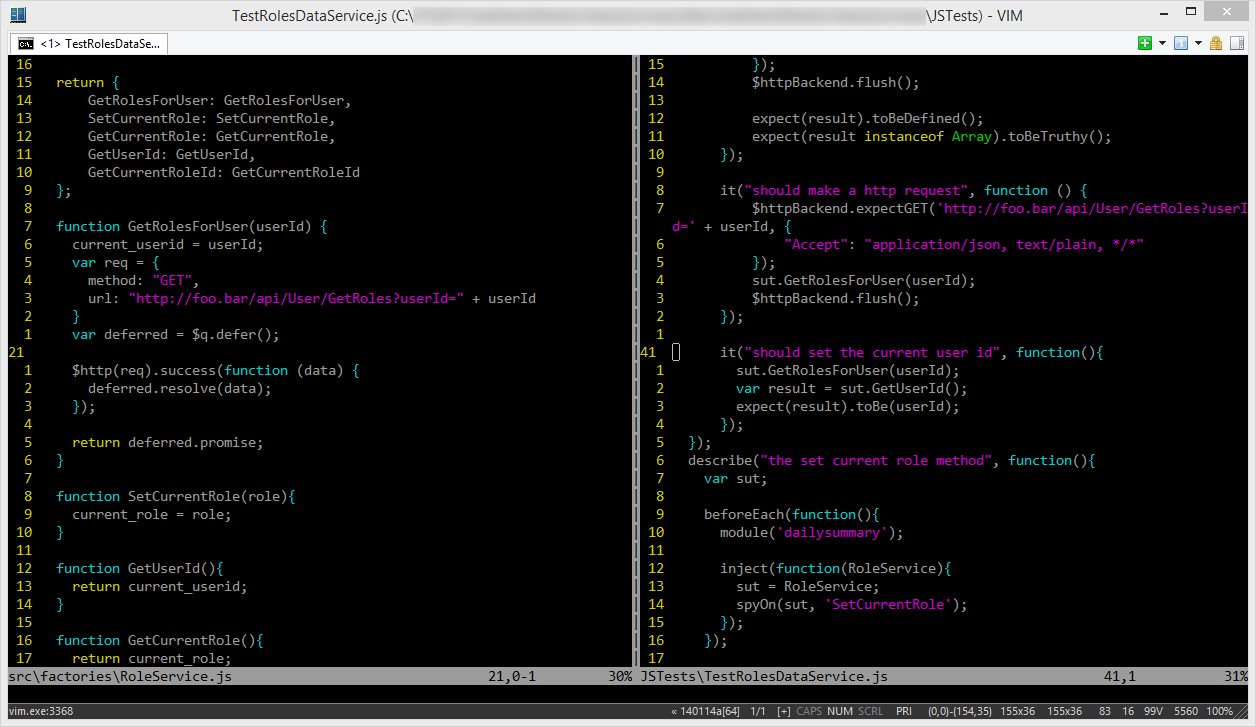
Being an avid VIM and OSX/Linux user it’s frustrating using Windows for a lot of things, however one aspect that would greatly increase my productivity and enjoyment of working on Windows would be getting VIM working correctly. I have to use Windows at work so investing some time in configuring VIM to work well makes sense.
Why doesn’t it work out the box?
I can easily head over to vim.org and download the Windows installer for VIM. This gives me a basic setup however it doesn’t feel anywhere near as clean and functional as it would in a *nix environment (including OSX). One of the major pitfalls is the poor command line tools in Windows by default. Why after all these years is it not possible to full screen a command prompt or powershell window without having to change settings??
Configuring VIM in Windows
Replace Command Prompt/Powershell
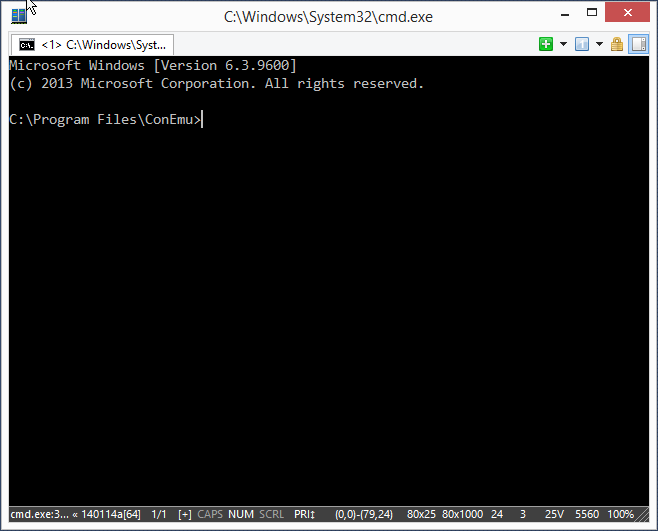
So you’ve got VIM installed using the Windows installer from the above download page, what now? The first step I took was to replace command prompt. If I’m going to use VIM productively I want it full screen without messing about. There are a few alternative available for Windows however the one I have stumbled across and been happy with is ConEmu. It’s an open source alternative and is what command prompt should have been! It supports tabs, is highly customisable and most importantly can be full screened!!

Setup VIM
There are a couple of other steps I had to take to get VIM functioning as it does in a *NIX environment. I have my VIM configuration scripted so that I can quickly configure a new machine as I like it (read more here) however by default this won’t work under windows. Here are the steps required to setup plugins and a custom VIMRC file in Windows.
-
Find where VIM thinks your home directory is, this can be done by entering VIM and typing
:echo $HOME. On my machine this isC:\Users\jason.underhill. -
Within the home directory create a blank
_vimrcfile. This will be the equivalent of the.vimrcfile in *NIX -
Also within the home directory create a
vimfilesdirectory. -
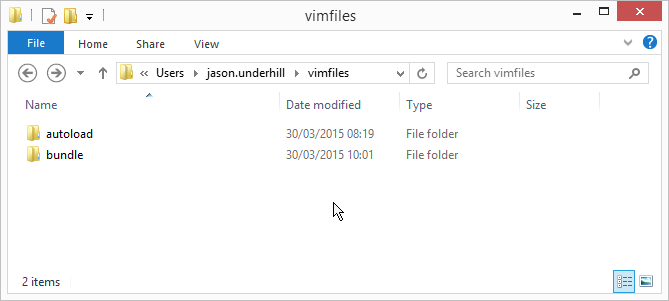
Next is to install pathogen, download a ZIP archive from the git repository and extract to the vimfiles directory. You should now have a directory structure like this:
Volume in drive C has no label. Volume Serial Number is 94D0-2DDB
Directory of C:\Users\jason.underhill\vimfiles
30/03/2015 08:19 <DIR> .
30/03/2015 08:19 <DIR> ..
30/03/2015 08:19 <DIR> autoload
0 File(s) 0 bytes 3 Dir(s) 175,544,438,784 bytes free -
Open the
_vimrcfile in a text editor (perhaps use VIM??) and add the following to instruct VIM to load plugins using pathogenexecute pathogen#infect() -
By default pathogen looks into a
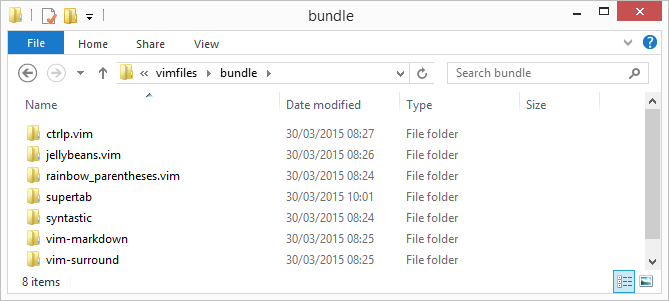
bundledirectory so this will also need creating within the vimfiles directory.

- The final step is to git clone any plugins you might want into the
bundledirectory.

